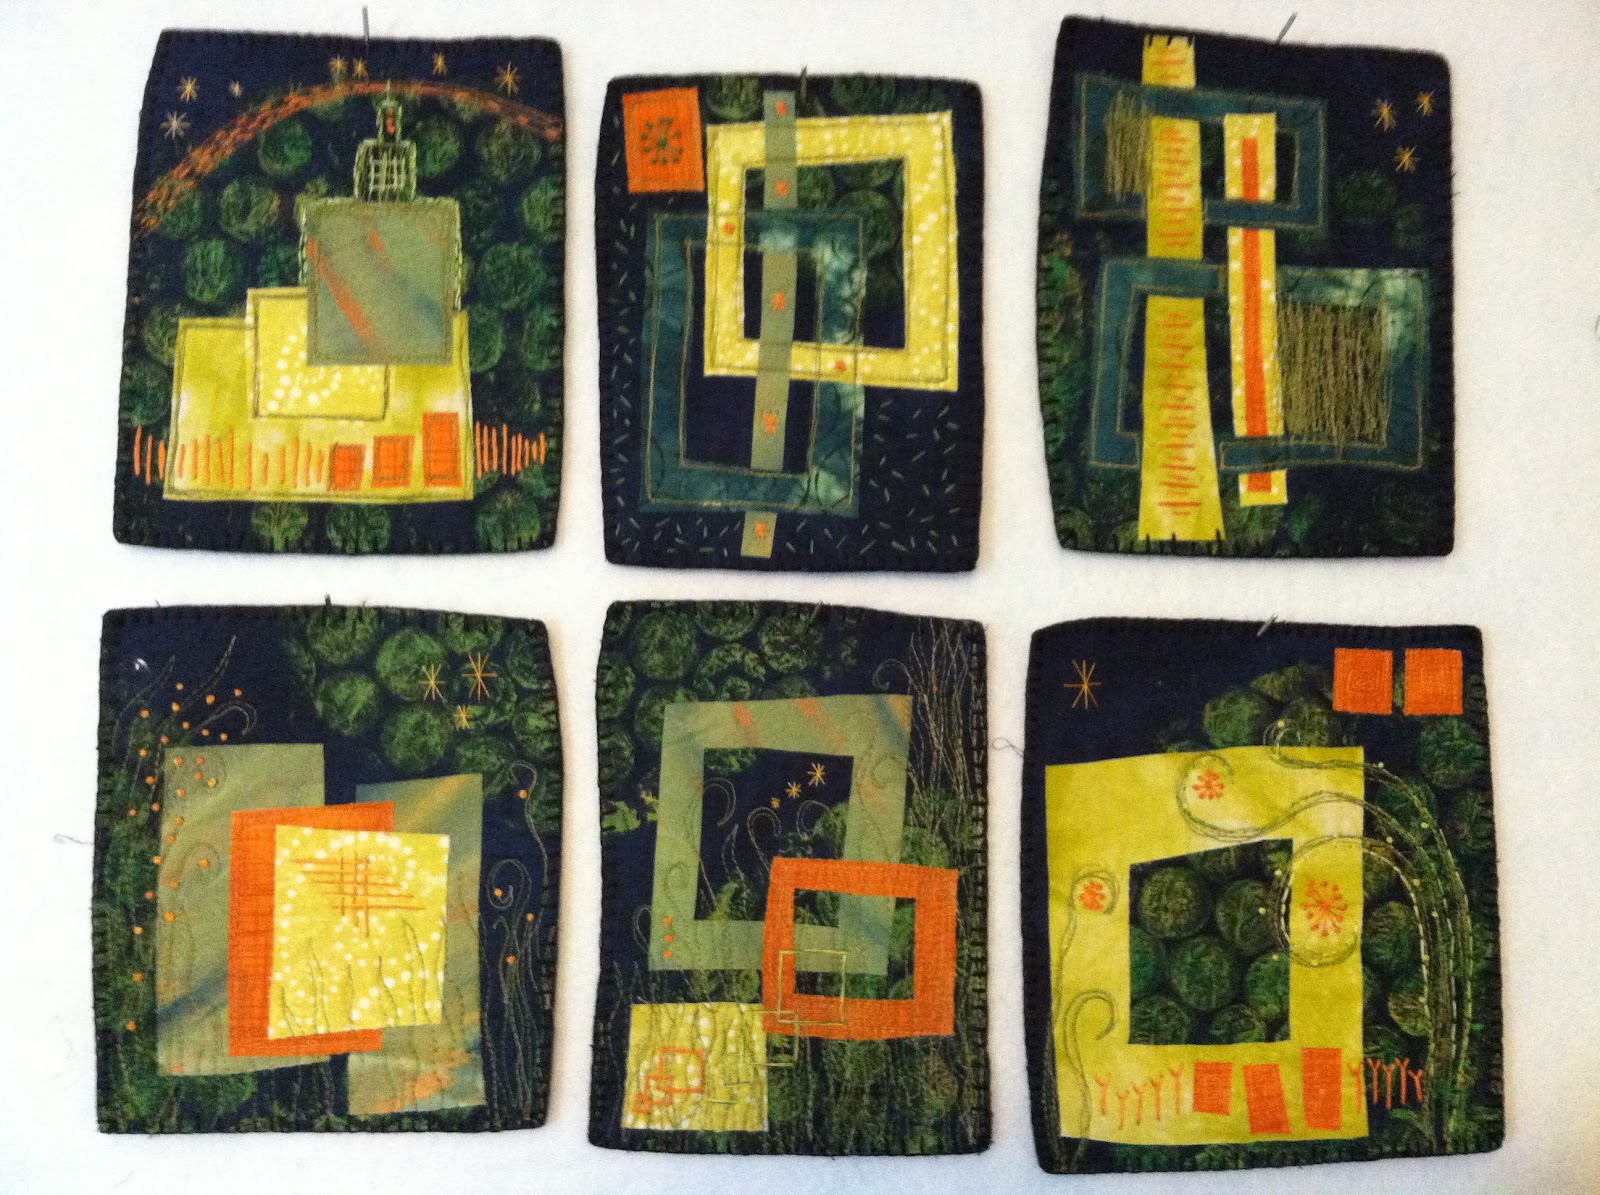
Can you see I've been having fun? Imagine yourself skiing thru the fall colored trees and looking up to see the clouds forming shapes? Perhaps you should keep your eyes on the ski slope while skiing!

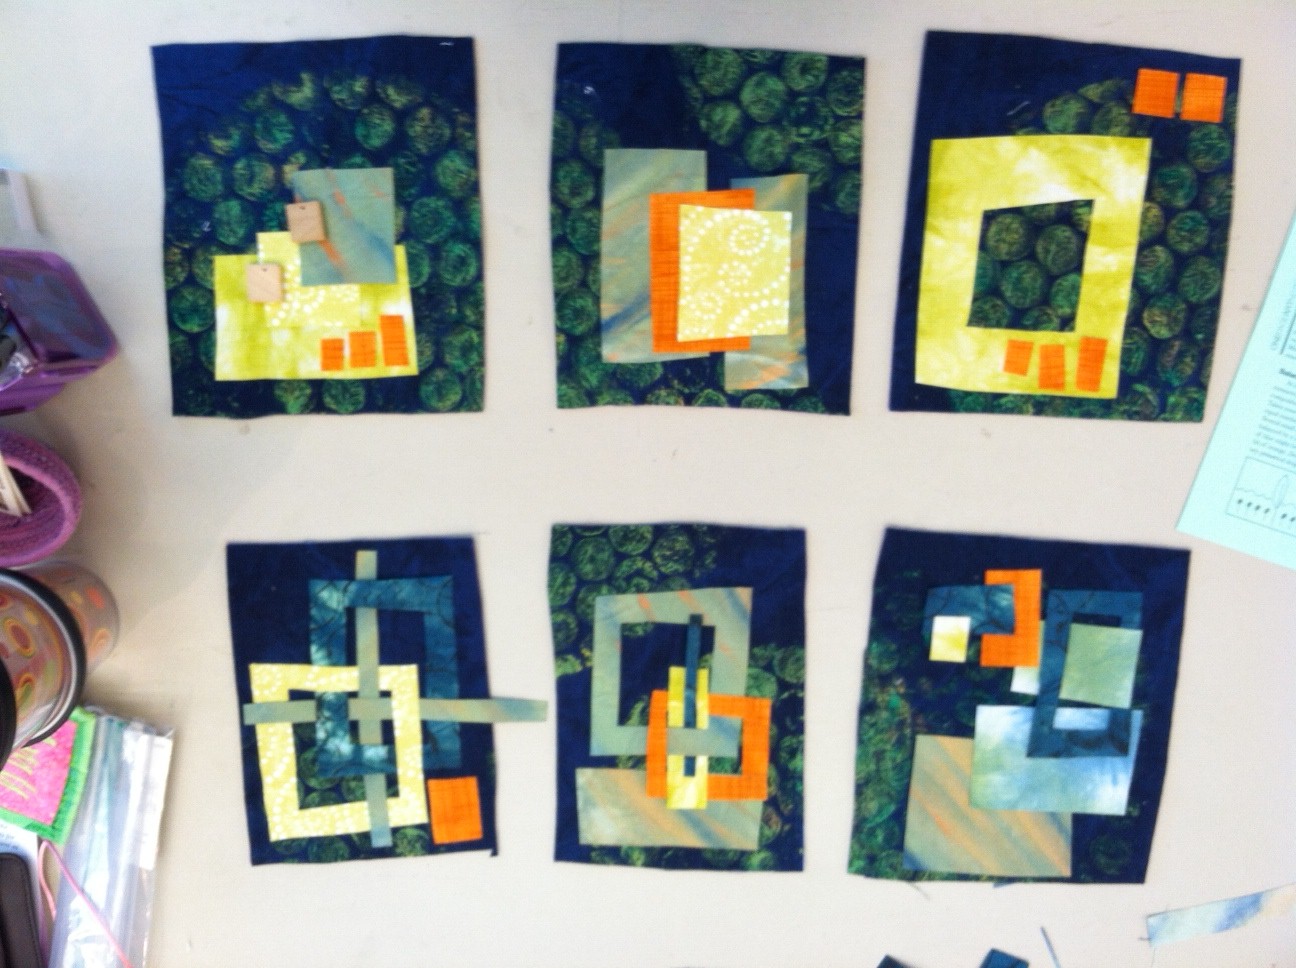
So started looking at the fabric, where the blades open there is a very nice triangle. and there is a second triangle in the opening area near the handles. So glad I decided to open the cutting tools - the largest one is actually a tin snip from the garage.
First I wanted to be able to practice some outline sewing - for the 3 scissors left to right- running stitch balanced, running stitch with longer thread than gaps, and backstitch. I liked the backstitch best so repeated it for the top scissors. Added triangles at bottom, at first my thoughts went to "cutting the grass" so laid them out in a grass-like, organic order. And did some free-motion applique with YLI thread.
.JPG) Did I mention that I love quilting... Not piecing, not applique, but taking a needle and thread and scribbling all over fabric at high speeds... At quilt shows I absolutely love running the longarms and just playing! Yesterday, an energetic vendor was talking to me while I sewed some spiky flame shapes... She asked "what are your thoughts?" in a kinda getting me to open up about my intentions to purchase (it wasn't overtly pushy, but still doing her job).. but I heard a question about what thoughts I was having - and I answered honestly - "I'm not thinking". There is a methodical, meditative groove I get into when machine quilting (I know, it's drudgery to some). If I could only do one of the steps of either piecing, applique or quilting - I choose quilting!
Did I mention that I love quilting... Not piecing, not applique, but taking a needle and thread and scribbling all over fabric at high speeds... At quilt shows I absolutely love running the longarms and just playing! Yesterday, an energetic vendor was talking to me while I sewed some spiky flame shapes... She asked "what are your thoughts?" in a kinda getting me to open up about my intentions to purchase (it wasn't overtly pushy, but still doing her job).. but I heard a question about what thoughts I was having - and I answered honestly - "I'm not thinking". There is a methodical, meditative groove I get into when machine quilting (I know, it's drudgery to some). If I could only do one of the steps of either piecing, applique or quilting - I choose quilting!So thanks to one friend I had time to sew in the car, thanks to my other buddy, I was given the vision of skiing thru trees and seeing shapes in the clouds... She insisted I see these stuffed koi fish in one of the vendor booths. AND - I do love making me some three-dee objects, and fun to see what others are doing. In the booth I was chatting up the sales person and behold, the topic of quilting came up - shocking, huh! She had this steering wheel - but kinda square and shaped like a very blocky capital C. And she was no sales person, she was the Gypsy Quilter herself, Lanette Edens. Liked her right off - even when I thought she was just a sales person.
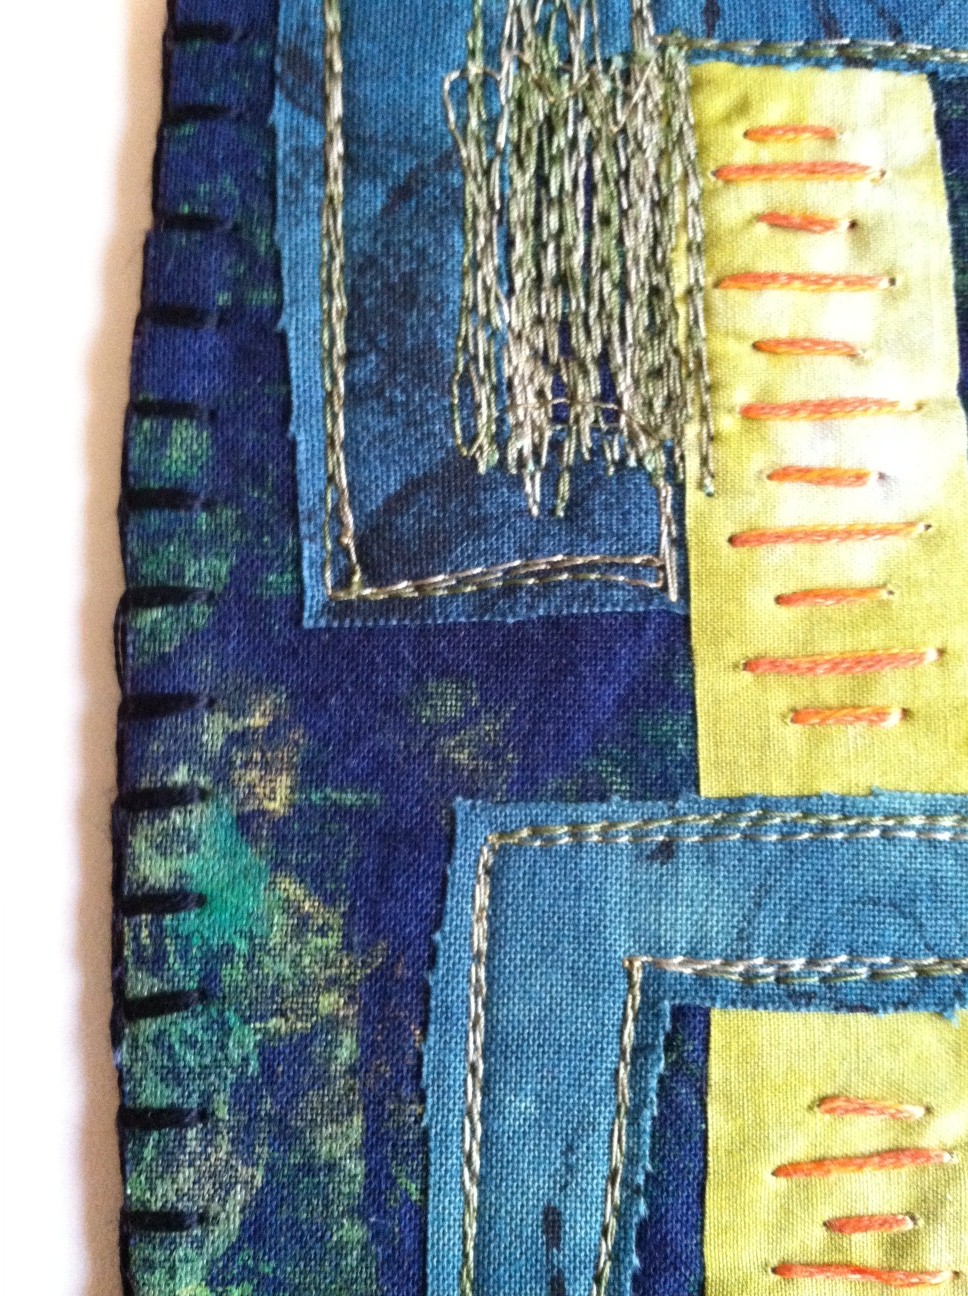
.JPG) Love. LOVE, L-O-V-E the tool, it' really does live up to it's name "The Fabulous Fabric Glide", the feel and motion is really close to that of the long arm and the control is amazing. Before this tool, I would wear the white Micheal Jackson like grippy gloves - better than barehanded - but not that comfortable. I was able to do some ridiculously tight quilting - see in a nice turquoise Robison-Anton thread "Marine Aqua" - I do love the 40 weight Super Brite Polyester - one beacuse I have it - two cause it has a nice shine and the poly is stronger than rayon so can also be used in come construction. Note to garment sewers - never ever never never use rayon to seam a garment - top stitching is fine, but seam construction in rayon can lead to unfortunate wardrobe malfunctions.
Love. LOVE, L-O-V-E the tool, it' really does live up to it's name "The Fabulous Fabric Glide", the feel and motion is really close to that of the long arm and the control is amazing. Before this tool, I would wear the white Micheal Jackson like grippy gloves - better than barehanded - but not that comfortable. I was able to do some ridiculously tight quilting - see in a nice turquoise Robison-Anton thread "Marine Aqua" - I do love the 40 weight Super Brite Polyester - one beacuse I have it - two cause it has a nice shine and the poly is stronger than rayon so can also be used in come construction. Note to garment sewers - never ever never never use rayon to seam a garment - top stitching is fine, but seam construction in rayon can lead to unfortunate wardrobe malfunctions. Thanks for letting me go off on a quilting and thread tangent! Back to the project at hand! Here is a needle-eye view of my Fabulous Fabric Glide - hanging right behind the machine I quilt on.
Before I did that quilting I fused on some appliques. The second shape in the scissor was the oval handle loop - so instead of circles, I cut ovals to and cut "triangles" out of the oval flower-cog...
flower-cog-oval...
flog-val?
My goal for this project was not to make art - but to experiment - so tried different stitching on the flogs - no two the same. I can use this as a reference for adding handstiching to flowers. And if it was for a project I thing I would have done the same stitching inside each one - I think some variety is nice, now that I see it. Maybe in future do a few styles of stitching - on purpose!

I love the bottom one with the V's and the single french knot... Never would have come up with this stitching pattern if I had not done the others. And I didn't undo or go back - in the left of this photo the one with the single bar on each pedal is not my favorite, but that's the one I did that led my to the V's.
Here you see it hanging in our powder room, the walls are the same mossy green as the flogs, not yellowish as it looks here.

And that raises two questions
Question number one
- Should I be providing "powder" if I insist on calling it a "powder room"? Or it it BYOP?
Question number two
- What is "a scissor", singular? The 2 handled tool is called "a pair of scissors" or a scissors, plural...
Just saw this in Wikipedia. It's a bit odd...
"In New Orleans, some believed that putting an open pair of scissors underneath your pillow at night was a sound method for sleeping well, even if one might be cursed."
I don't recommend sleeping with scissor open or closed under your pillow!